The exercise will help develop your muscles and improve your sense of balance.
Some exercises do not get the attention they deserve from modern athletes. What this has to do with is hard to say. Most don’t think about the development of certain aspects of their bodies and don’t see the point of specific exercises, and some have never encountered these training formats.
The handstand, at first glance, is a fairly simple, even “childish” exercise. But do not underestimate it – the handstand will help develop not only muscles but also a sense of balance and learn to better control the body.
What is the handstand for and how to do it?
The handstand is a gymnastic element that requires balance and body control rather than specific physical performance. Accordingly, the process has more in common with cycling than with exercises for bodybuilders.
The main technical point of the stance is to put the body in one line, placing all joints (wrists, elbows, shoulders, hips, ankles) absolutely straight so that they form a straight perpendicular half line.
As you perform the exercise, the fingers of the hands should be pointing forward and tense. Throughout, the shoulders should “push” the body upward, with the abdomen retracted and tense. The legs should also be tense and straight, joined together.
How do I learn to do a handstand?
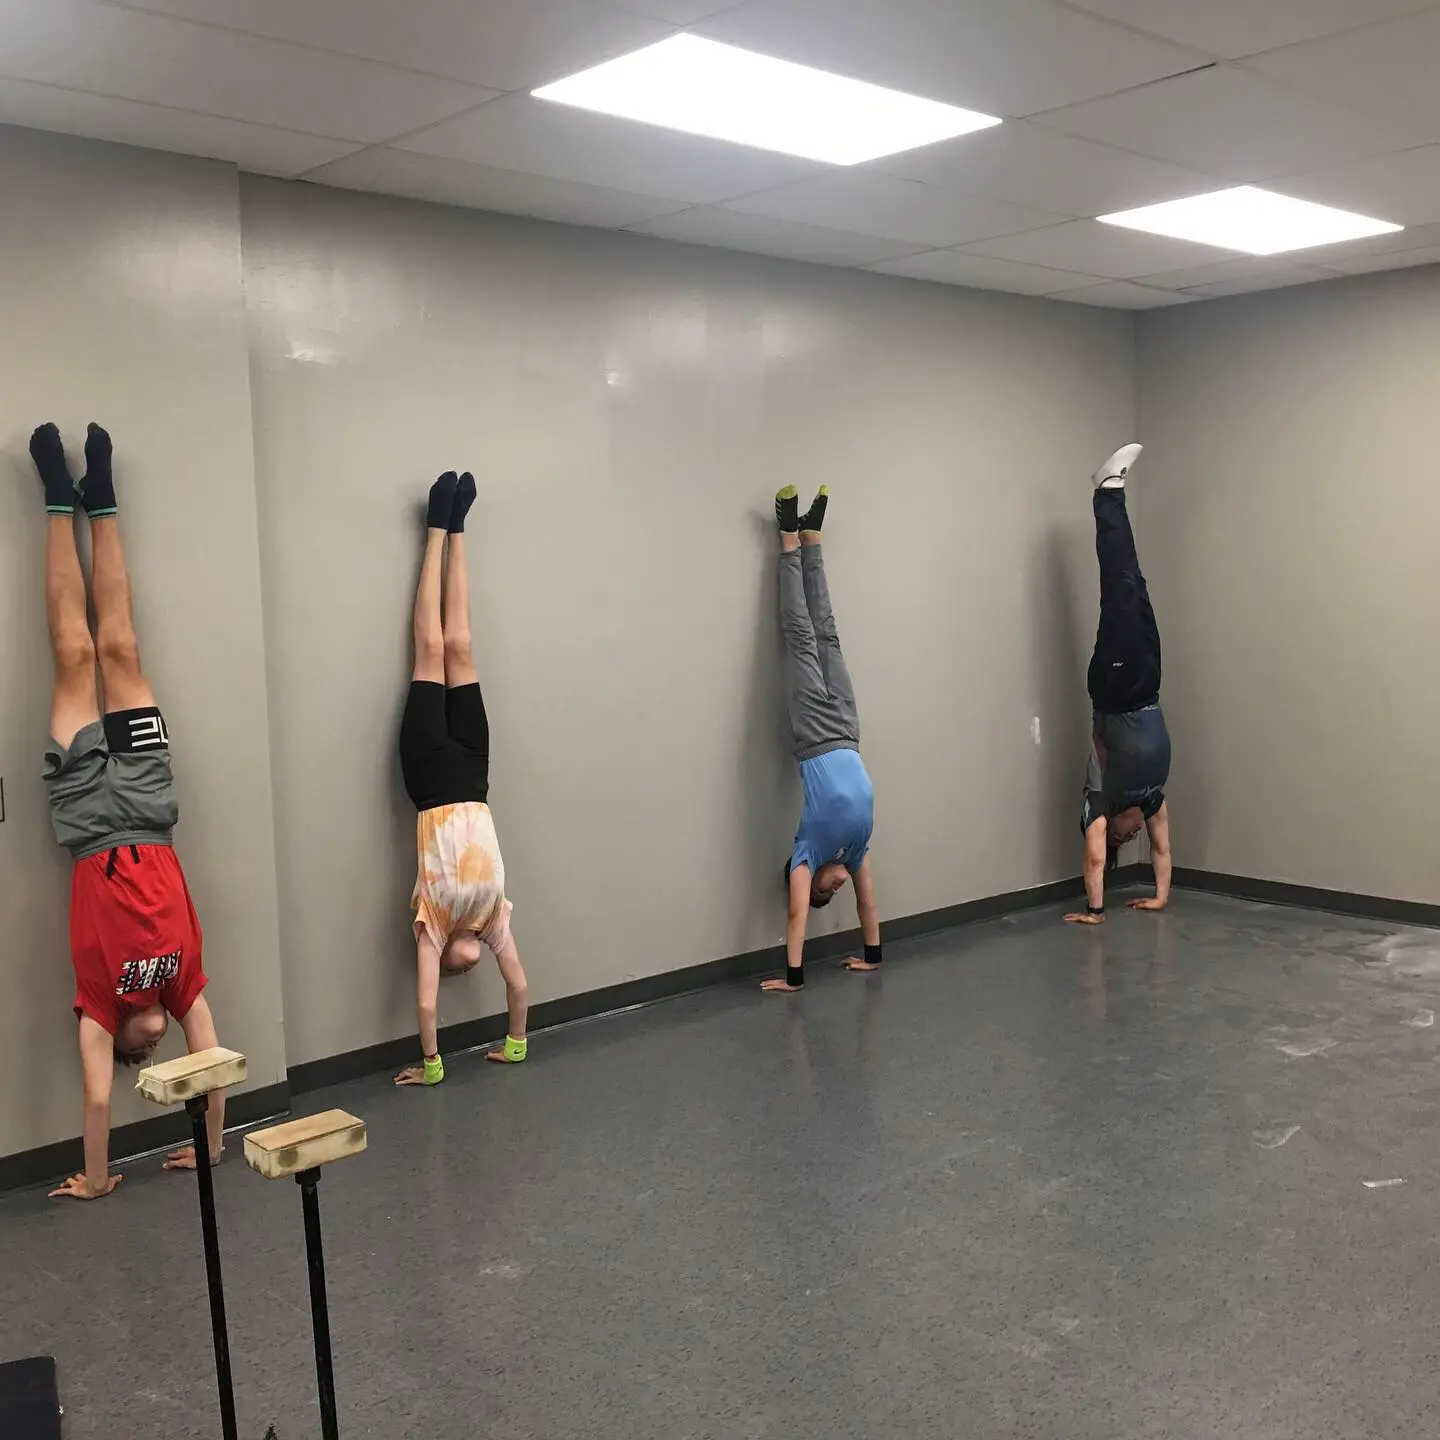
Start your training with a handstand facing the wall. Place your feet on the wall and approach it with your hands, leaving about 50 cm between your palms and the wall. Keep your body straight. Do four such approaches for 30 seconds each.
When the first option is no problem, gradually reduce the distance between your hands and the wall. Your goal is to leave 5-10 cm. If your chest, hips, and toes touch the wall, then your body is properly aligned. In this format, you perform four 30-second approaches.
At this stage, you need to learn how to come out of the rack safely. Practice “falling backward” at the wall when your hands are 50 cm away from it. Your task is to push off from the wall with your legs, turn your body slightly, and move one of your arms slightly forward, then stand on your feet.
When the fear of falling is gone, you can proceed to a handstand with your back to the wall. In this introductory exercise, you will learn how to push off and get into a handstand. The wall will help you “catch” the balance at first.
Put your hands 5-10 cm away from the wall and push off with your feet, aligning your body. At this stage, try to lightly push your heels off the wall and stay in that position, trying to feel the balance. When you can hold it for 5–10 seconds against the wall, it’s time to move on to practicing free standing.
Tune in to fight for every second in the rack every time you do the exercise. This will help to motivate and pump up your stabilizer muscles and improve your sense of balance instead of giving up and getting back on your feet when your balance is lost. Try to practice the rack as often as possible. Five times a week will be enough.
Often, the rack is not possible to do evenly because of the lack of flexibility in the shoulder joint. If that is the case, you should perform additional stretching every time before training.
Even experienced athletes may not be able to make a stand at once. Therefore, be patient and keep practicing. With each following approach, the experience will grow and you will be able to stay in a free stand for longer and longer.